How to Set Up and Use Walmart’s New 4K Google TV Streaming Stick
Introduction
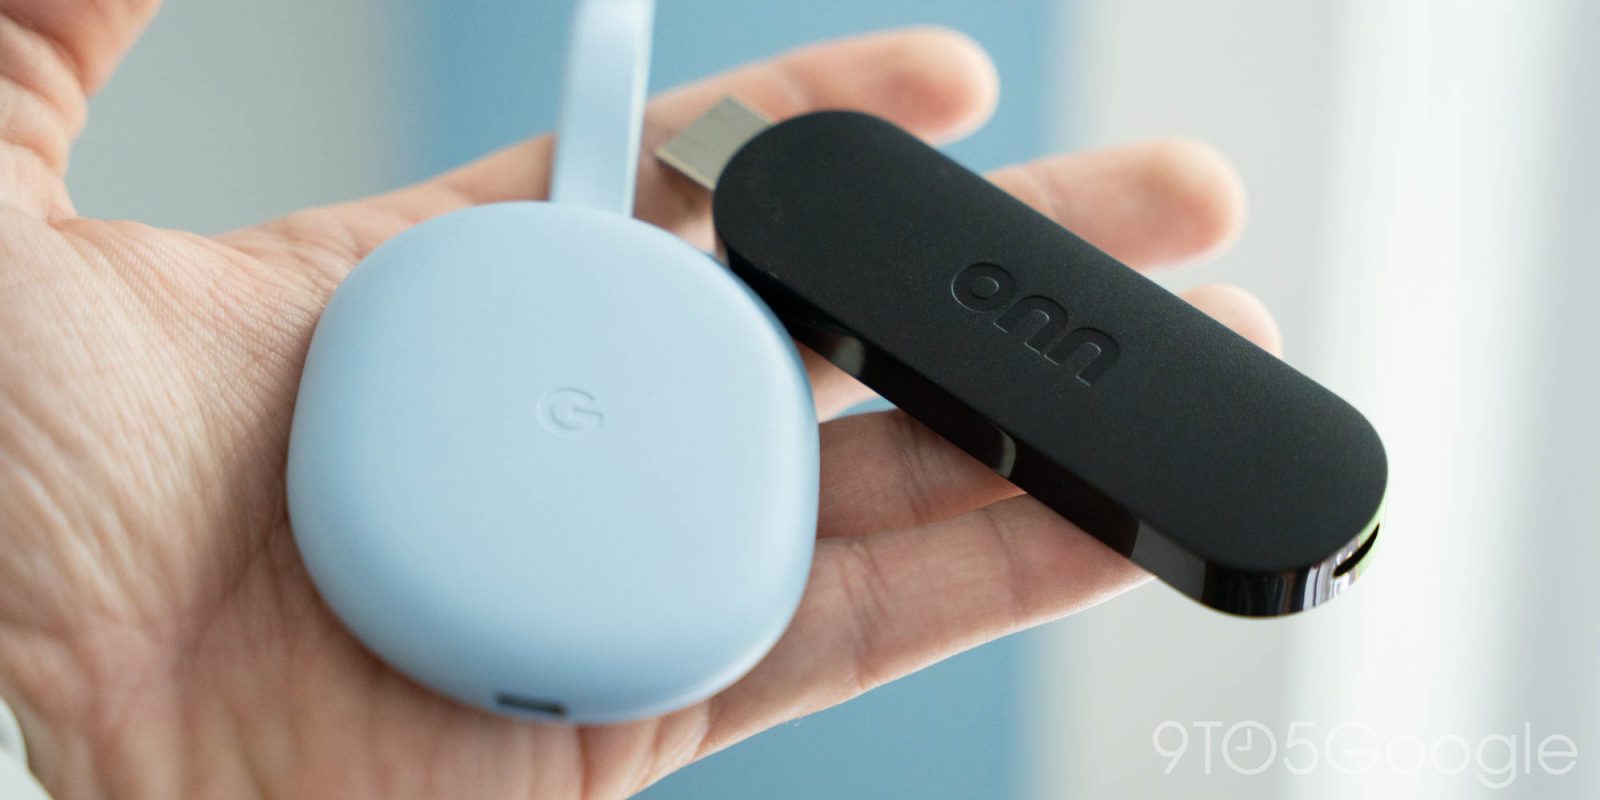
When Walmart announced its new lineup of Google TV streamers, the 4K streaming stick immediately caught my attention. It arrived first, and it’s exactly the kind of Chromecast with Google TV (4K) replacement I’ve been wanting. If you’ve just unboxed this compact powerhouse, or are considering buying one, follow this step-by-step guide to get it up and running quickly and make the most of its features.
What You Need
- Walmart 4K Google TV Streaming Stick – the device itself
- HDMI cable (included with the stick)
- USB power cable and adapter (included; preferably a wall outlet adapter)
- TV with an available HDMI port and built-in speakers or external sound system
- Wi-Fi network (2.4GHz or 5GHz; 5GHz recommended for 4K streaming)
- Google account (for signing into Google TV)
- Smartphone or tablet (optional but helpful for initial setup via the Google Home app)
- Remote batteries (usually 2 AAA, included)
Step-by-Step Guide
- Unbox and inspect the contents. Open the box and ensure you have the streaming stick, remote, HDMI extension cable, USB power cable, power adapter, and batteries. Remove any protective films.
- Connect the stick to your TV. Plug the streaming stick directly into an available HDMI port on your TV. If the port is hard to reach, use the included HDMI extension cable for a better fit.
- Power the stick. Connect the USB power cable to the stick and plug the other end into the power adapter. Insert the adapter into a wall outlet. (Using the TV’s USB port may not provide enough power for stable 4K streaming, so a wall outlet is recommended.)
- Insert batteries into the remote. Open the battery compartment on the back of the remote and insert two AAA batteries (ensure correct polarity). The remote should power on automatically.
- Select the correct HDMI input on your TV. Use your TV remote to switch to the HDMI input where the stick is connected. You should see the Google TV welcome screen.
- Pair the remote. Follow the on-screen instructions to pair the remote with the stick. Usually, you’ll hold the Home plus Back buttons simultaneously for a few seconds until the pairing prompt appears.
- Connect to Wi-Fi. Choose your Wi-Fi network from the list and enter the password. For the best 4K streaming experience, use a 5GHz network if available.
- Sign in with your Google account. Enter your Google credentials (or create a new account). This syncs your personal settings, app preferences, and purchases.
- Complete initial setup. Follow the remaining on-screen prompts to set up Google Assistant, adjust basic preferences (language, location, etc.), and choose whether to enable personalized recommendations.
- Install your favorite streaming apps. After setup, you’ll see the Google TV home screen. Navigate to the “Apps” tab or use the search function to find apps like Netflix, Disney+, Hulu, HBO Max, YouTube, and more. Select “Install” for each app.
- Customize your home screen. Arrange apps and channels to your liking. Long-press on an app icon and select “Move” to reorder, or “Remove from row” to hide it.
- Adjust video and audio settings. Go to Settings > Display & Sound. Enable 4K HDR output if your TV supports it. Choose audio output (HDMI or optical) and enable surround sound formats like Dolby Atmos if your system allows.
- Set up voice control. Press the Google Assistant button on the remote to speak commands. You can also enable hands-free voice control in Settings if the stick supports it (check device specs).
- Enable Chromecast casting. The stick is also a Chromecast device. Ensure “Chromecast” is enabled in Settings > Google TV > Chromecast. You can then cast content from your phone or laptop directly to the TV.
- Explore extra features. Check the “Live” tab for free ad-supported TV channels. Use the Watchlist feature to save shows and movies across services. Set up your own user profile if multiple people use the device.
Tips
- Use a wired Ethernet connection if possible. If your Wi-Fi is unstable, try using an Ethernet adapter (USB-C to Ethernet, sold separately) for more reliable 4K streaming.
- Keep the remote line-of-sight free. The remote uses Bluetooth and IR. For best response, avoid obstructions between the remote and the stick.
- Update the firmware. Go to Settings > System > System update to ensure the stick and remote have the latest software.
- Conserve power. If you won’t use the stick for a while, you can put it into sleep mode via the remote’s power button. Disconnect the power cable only when unplugging for an extended period.
- Optimize for your TV. In Display & Sound settings, enable match content frame rate (24p/50p/60p) to avoid judder. Disable unnecessary motion smoothing on your TV.
- Use parental controls. Create a child profile under Settings > Accounts > Add child to restrict content and set screen time limits.
- Free up storage. If the device slows down, go to Settings > Apps and clear cache or uninstall unused apps.
- Take advantage of Google Home. Connect the stick to your Google Home app for smart home control and automation.