How to Contribute to the Open-Source Warp Terminal with AI Agents
Introduction
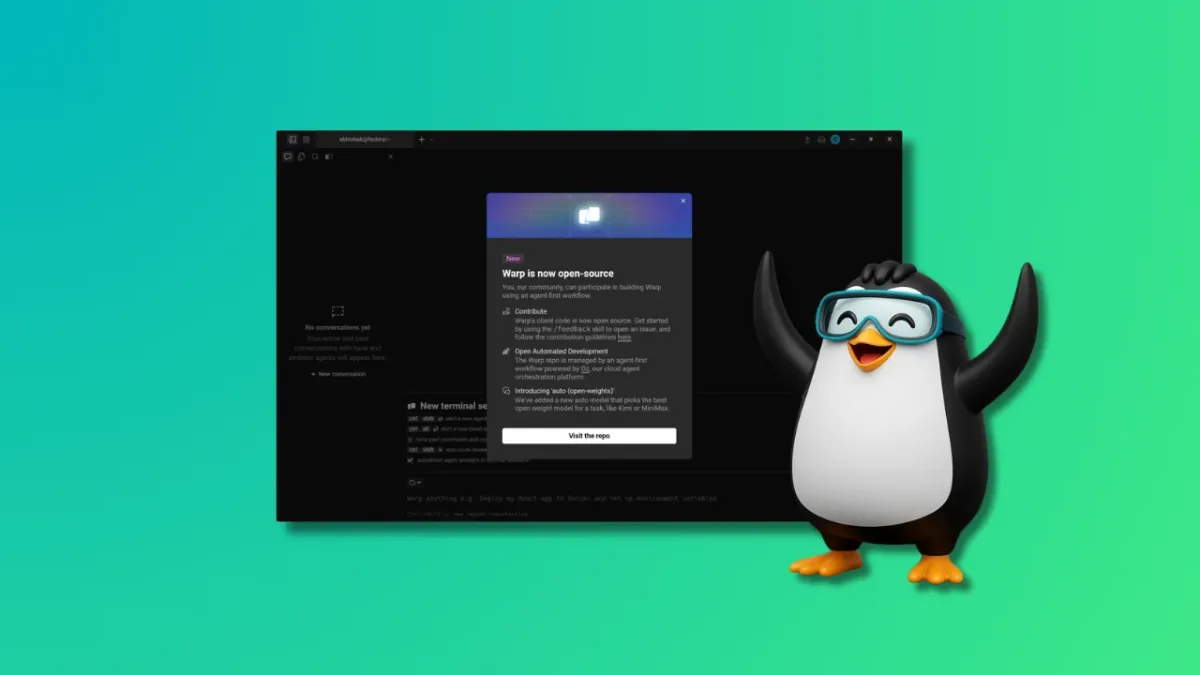
Warp, the modern terminal and agentic development environment built in Rust, has taken a bold step by open-sourcing its client codebase. But this isn't your typical open-source project—the contribution model is designed to let humans focus on creative and strategic tasks while AI coding agents handle the implementation. If you're a developer eager to dive into Warp's code and help shape its future, this guide will walk you through the process step by step, from setting up your environment to submitting a pull request using AI agents like Oz.

What You Need
- GitHub account – to fork the repository and submit pull requests.
- Rust toolchain – Warp is written in Rust. Install via
rustup(ensure you havecargoandrustc). - Git – for version control.
- An AI coding agent – Warp recommends Oz (its cloud agent orchestration platform), but you can also use Claude Code, Codex, Gemini CLI, or others. Oz is preferred because it has built-in context and verification checks aligned with Warp's workflow.
- Access to an LLM provider – Oz is powered by GPT models (OpenAI is the founding sponsor). For other agents, ensure you have API keys.
- Basic understanding of Warp's architecture – Familiarize yourself with the repository structure: the UI framework (
warpui_coreandwarpuicrates) is under the MIT license; the rest is AGPLv3.
Step-by-Step Guide
Step 1: Understand the Contribution Model
Before writing any code, grasp Warp's unique approach. The main bottleneck is no longer coding—it's the human-led tasks of deciding on features, writing specifications, and verifying software behavior. AI agents (like Oz) handle implementation, while humans focus on ideas, spec work, and review. Your role as a contributor is to define what needs to be built and validate the result. This shift means you'll spend less time typing code and more time thinking strategically.
Step 2: Fork and Clone the Repository
Head to github.com/warpdotdev/warp and fork the repo. Clone your fork locally:
git clone https://github.com/your-username/warp.git
cd warp
Add the upstream remote to keep your fork updated:
git remote add upstream https://github.com/warpdotdev/warp.gitStep 3: Set Up Your Development Environment
Warp is built with Rust, so you'll need the latest stable toolchain. Run rustup update to make sure you're up to date. Then build the project to verify everything compiles:
cargo buildIf you encounter any missing dependencies (e.g., system libraries for GPU acceleration on Linux), refer to the BUILD.md file in the repository. Also, configure your AI agent. For Oz, you'll need to sign up (if not already) and set up your authentication token. For other agents, follow their respective setup guides.
Step 4: Choose a Feature or Issue to Work On
Browse the open issues on GitHub or propose your own idea. Because human effort is now directed at high-level decisions, you should pick something that benefits from careful specification rather than repetitive coding. Examples: a new block command, integration with an external tool, or a UI enhancement. Communicate your intention in the issue tracker to avoid duplication and get early feedback from the community.
Step 5: Write Specifications and Test Plans
This is the core human task. Instead of diving into code, write a clear, detailed spec for your chosen feature. Describe the expected behavior, edge cases, and user interactions. Also outline verification steps—how you'll confirm the agent-generated code meets the spec. Warp's verification processes rely on your input, so be thorough. If using Oz, the platform can ingest your spec document and guide the agent's implementation.
Step 6: Let the AI Agent Generate the Code
With your spec ready, instruct your AI agent to produce the implementation. For Oz, you can define rules and constraints in the orchestration layer. The agent will run multiple coding agents in parallel with full visibility. If you're using another agent like Claude Code or Codex, feed your spec and let it generate patches. Review the generated code snippets—don't blindly trust; this is where your expertise comes in.
Step 7: Review, Test, and Refine
Verify the agent's output against your spec. Run the existing test suite and write new tests if needed. Warp's CI will catch many issues, but manual testing is crucial—especially for UI interactions. If the code doesn't match the spec or introduces bugs, iterate with the agent by providing more specific feedback. Remember, the agent is a tool; you are the quality gatekeeper.
Step 8: Submit a Pull Request
Once you're satisfied, commit your changes (including any spec documents or test plans) and push to your fork. Create a pull request against the main Warp repository. In the PR description, explain what the feature does, link to the issue it addresses, and mention any AI agent involvement (e.g., "Implementation assisted by Oz using GPT-4"). Warp's maintainers will review your work—they'll primarily check the spec and verification, not the code itself, given the agentic workflow.
Step 9: Engage with the Community
After submitting your PR, be responsive to feedback. The community and Warp team may ask for clarifications on the spec or suggest improvements. Because the contribution model values human insight over code volume, your participation in discussions is highly valued. Also, keep an eye on the repository's Wiki and discussion forums for evolving guidelines on how to best use AI agents with Warp.
Tips for a Smooth Contribution Experience
- Start small – Pick a minor feature or a bug fix to get familiar with the workflow before tackling larger tasks.
- Use Oz if possible – Warp's own orchestration platform has baked-in rules and context that align perfectly with the project's goals. It also offers cloudparallel execution and full logging.
- Document your spec thoroughly – The better your spec, the better the AI's output. Include examples, mockups, and acceptance criteria.
- Test on multiple platforms – Warp runs on Linux, Windows, and macOS. If you can, test your changes on at least two to catch platform-specific issues.
- Keep an eye on license implications – Remember that most of the codebase is AGPLv3, so any derivative work must comply. The UI framework (MIT) is more permissive.
- Join the conversation – Warp's open-sourcing is still new; the community is shaping the contribution model. Your feedback on the process itself is welcome.
- Explore the new open model routing – Warp added an "auto (open)" option that selects the best open model (Kimi, MiniMax, Qwen) for a task. If you prefer open-source LLMs, experiment with this setting.
By following this guide, you'll not only contribute to a cutting-edge terminal but also participate in a novel paradigm of human-AI collaboration. Happy hacking!